> ## Documentation Index
> Fetch the complete documentation index at: https://nango-wari-integration-config-credentials-api.mintlify.site/llms.txt
> Use this file to discover all available pages before exploring further.
# Checkout.com - Sandbox - How do I link my account?
## Overview
To authenticate with Checkout, you will need:
1. **Client ID** - A unique identifier for your application on Checkout.
2. **Client Secret** - A key that grants full access to all your application and configurations.
This guide will walk you through generating the Client ID and Client Secret within Checkout.
## Prerequisites:
* You should have a registered test account with Checkout. Create one on [Checkout Getting Started page](https://checkout.com/).
* Permission to generate **API Keys**.
#### Step 1: Creating an Access Key Pair (Client ID and Client Secret)
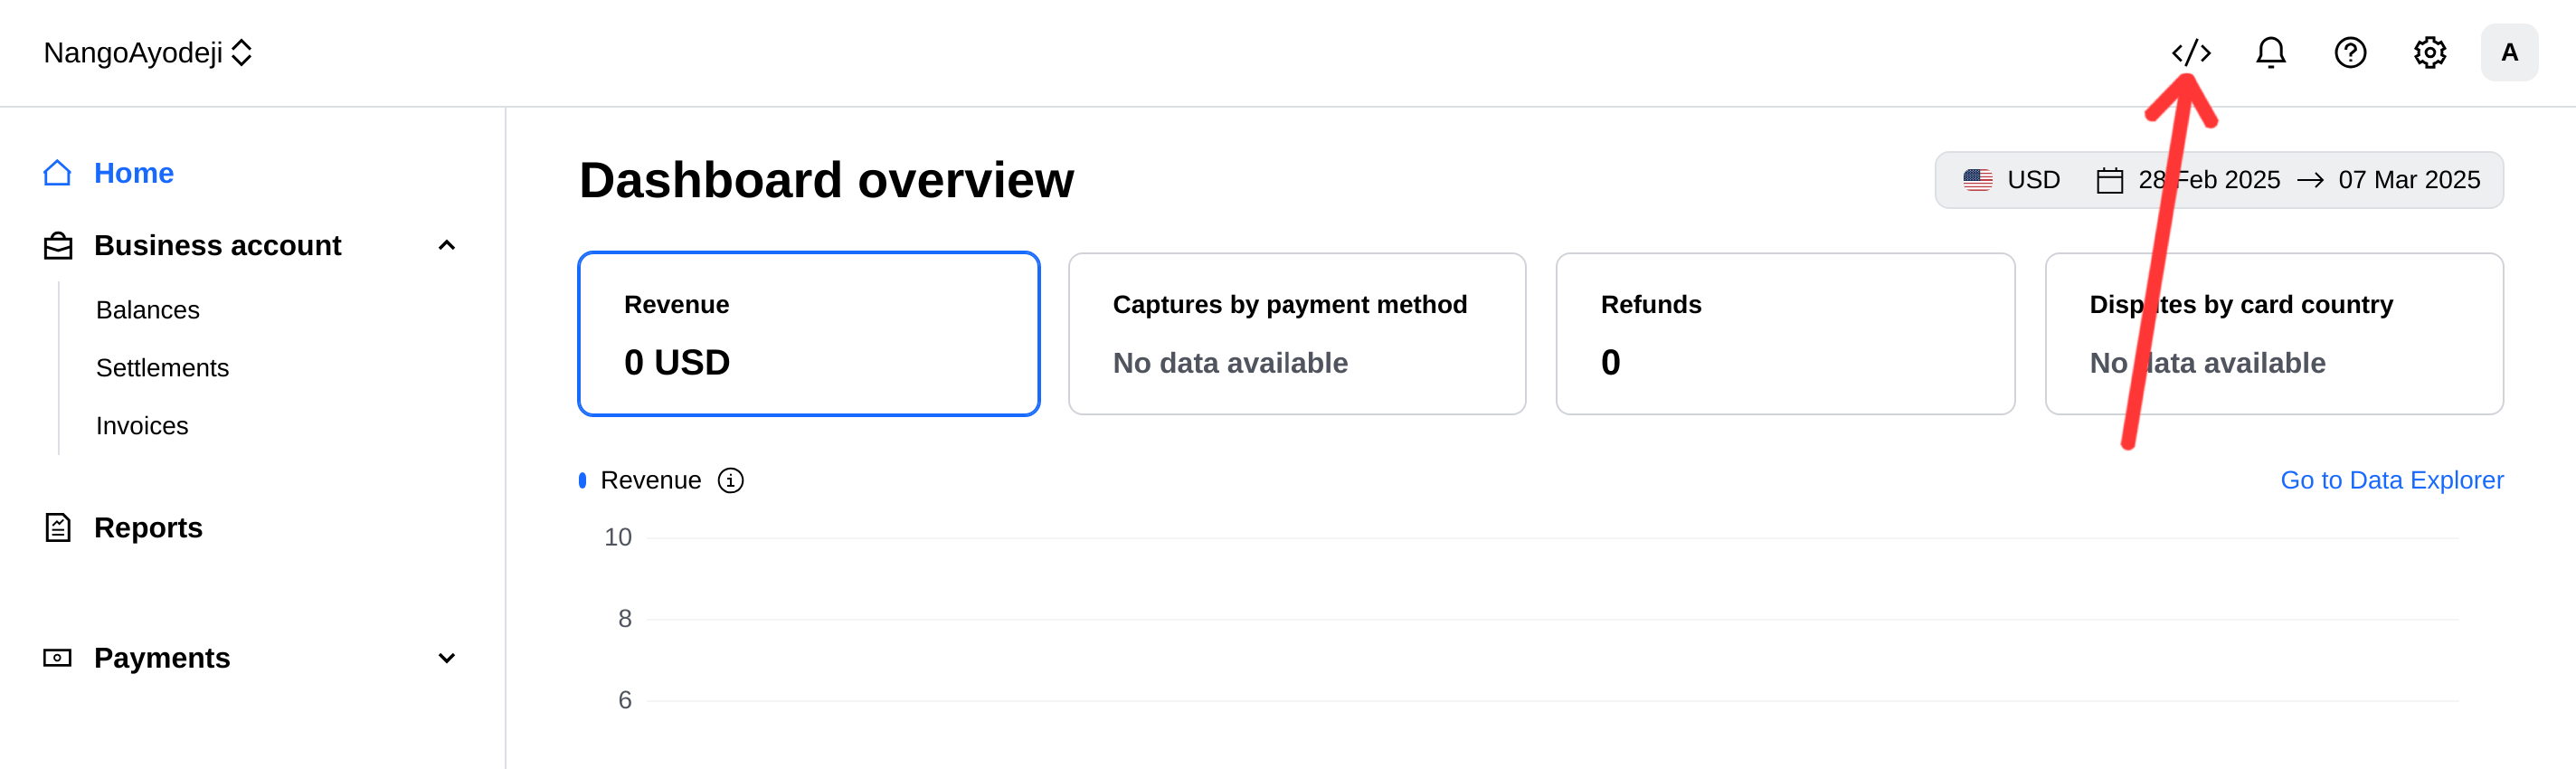
1. From your Checkout sandbox dashboard, click on the **Developer** icon at the top right corner of the screen.
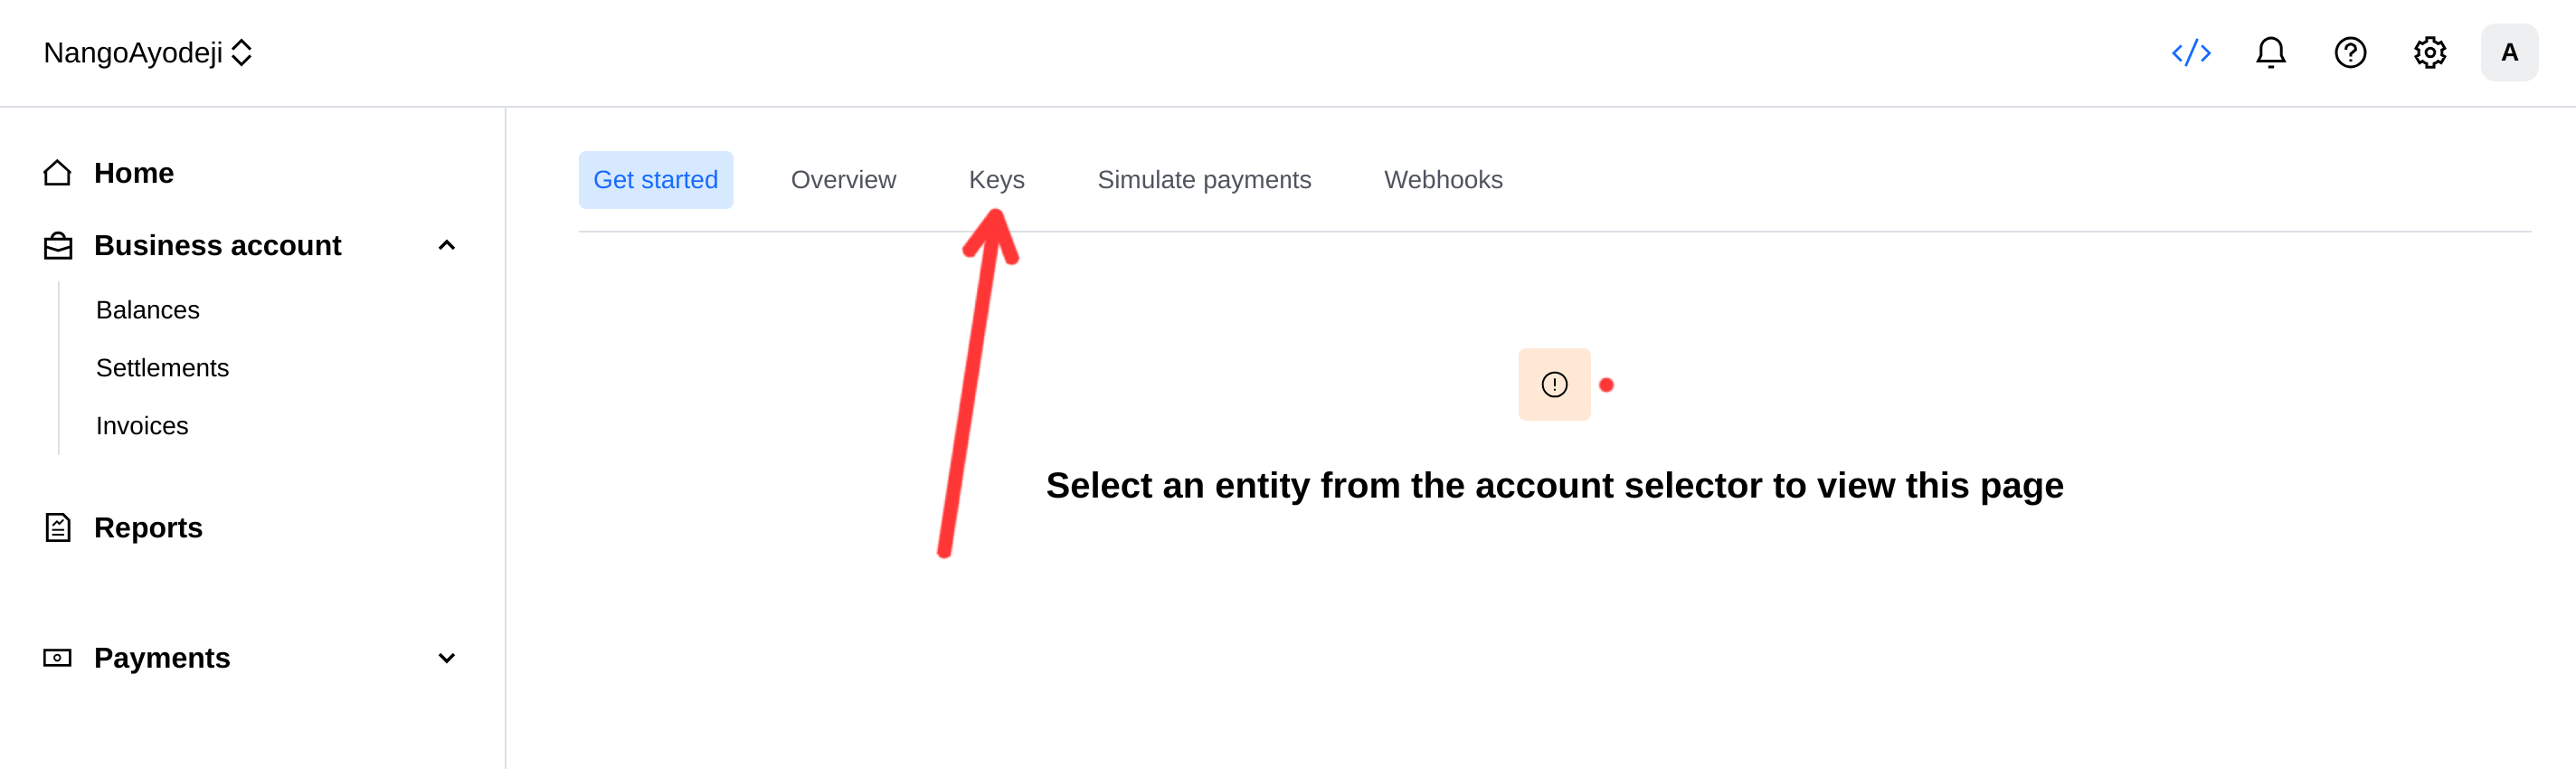
 2. Click on the **Keys** tab
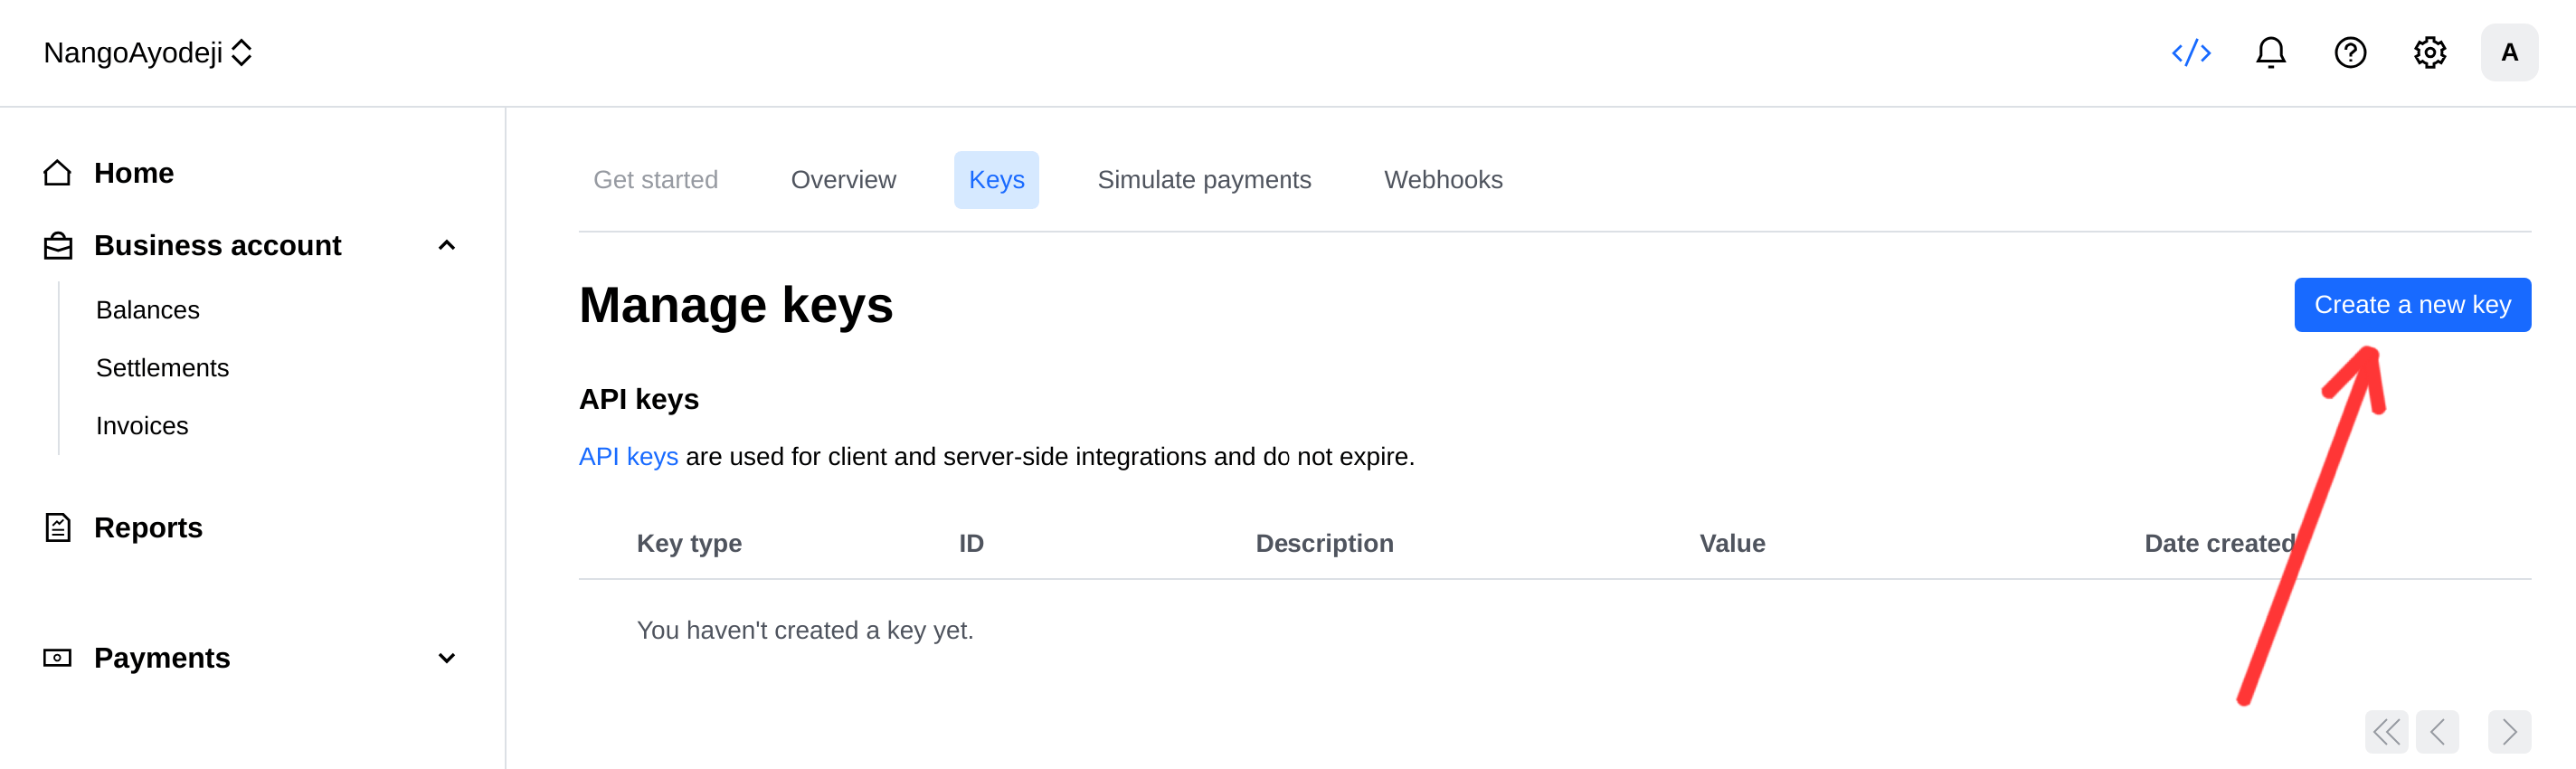
 3. Click on the **Create a new key** button
 4. Select the **Access key pair** option
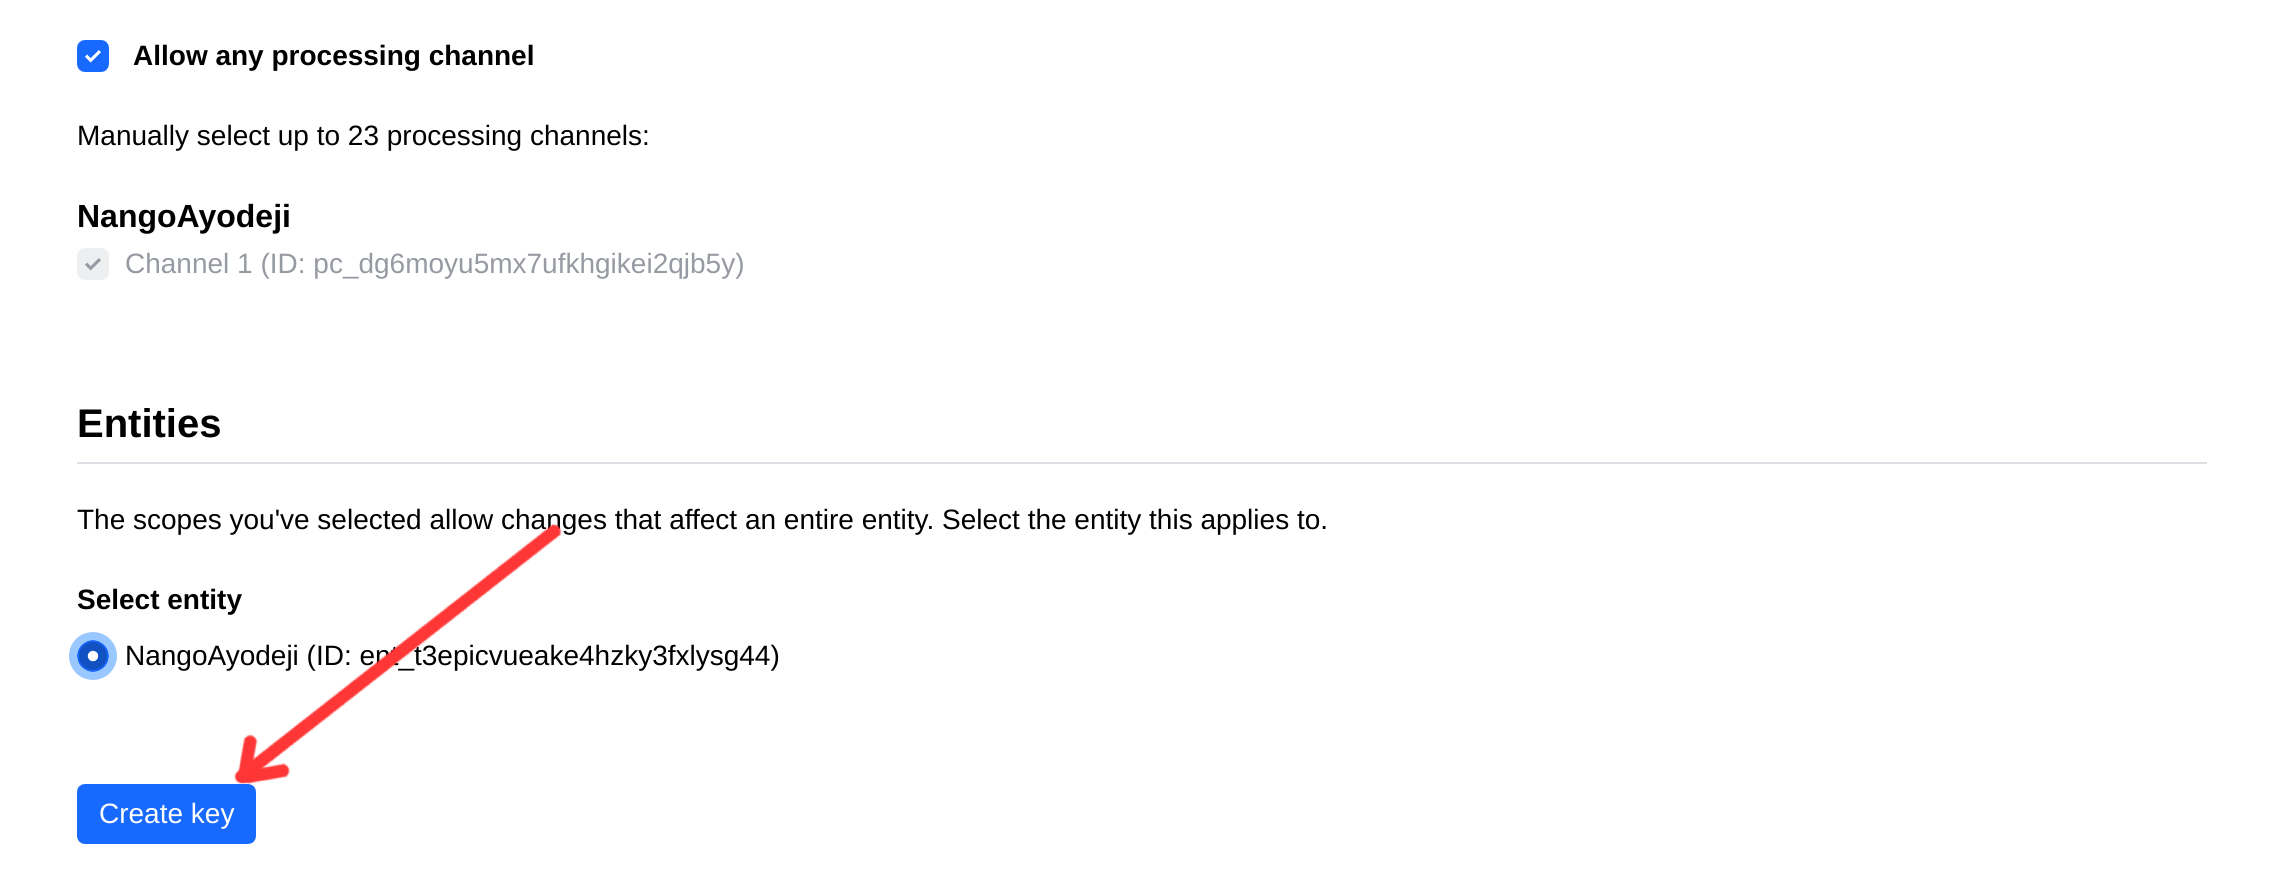
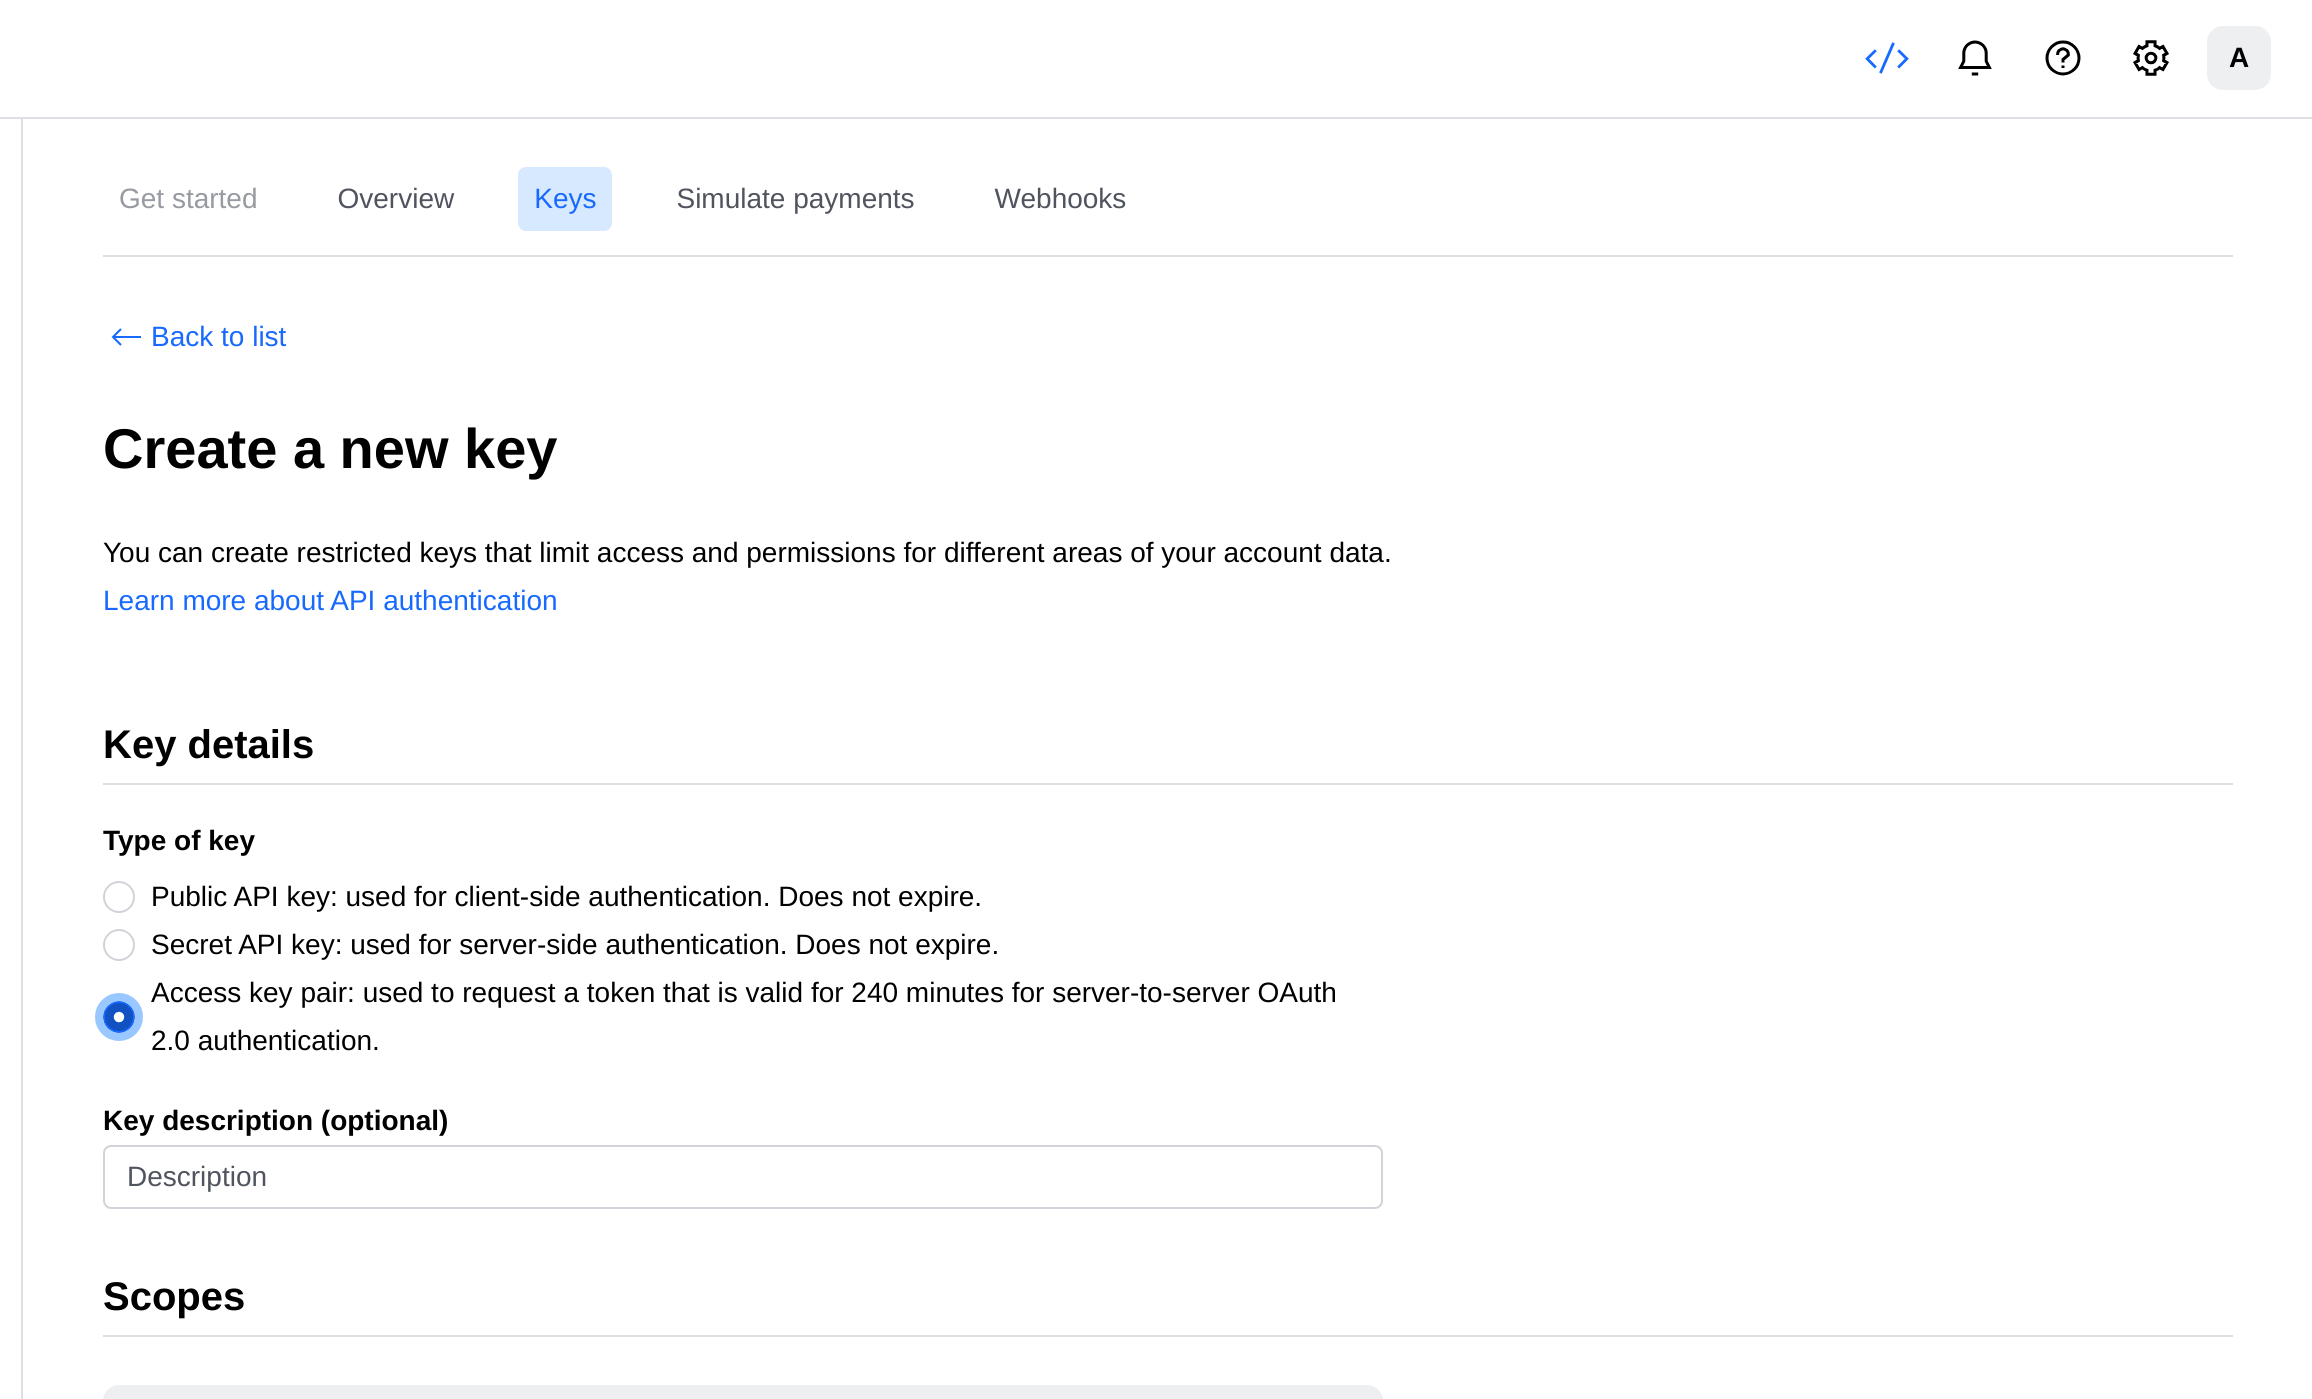 5. Select the entity you want to create the key for and then click on the **Create key** button.
 6. Copy the generated key pair and store it securely. You will need it for the next steps
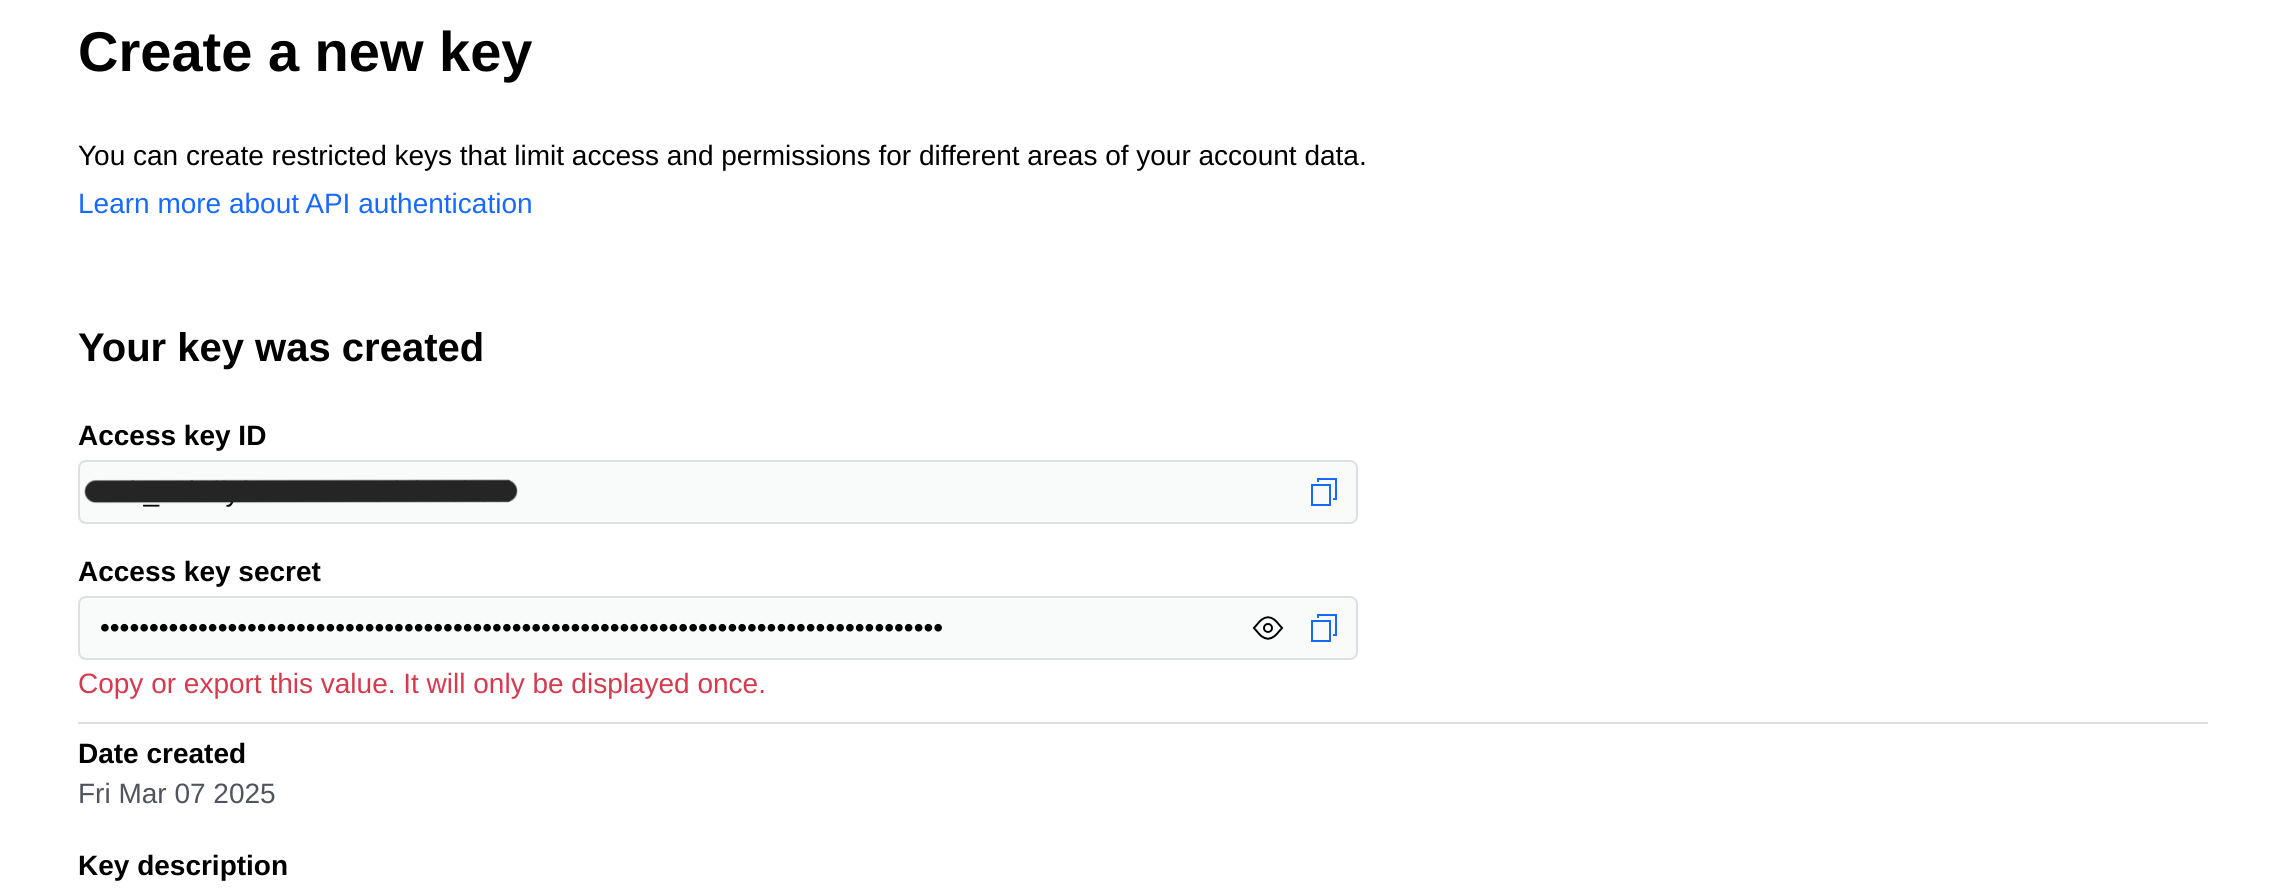 **Note:** It is important to store the key pair securely as it will not be visible again once you leave the Key page.
#### Step 2: Connect Your Checkout.com Account
**Note:** It is important to store the key pair securely as it will not be visible again once you leave the Key page.
#### Step 2: Connect Your Checkout.com Account
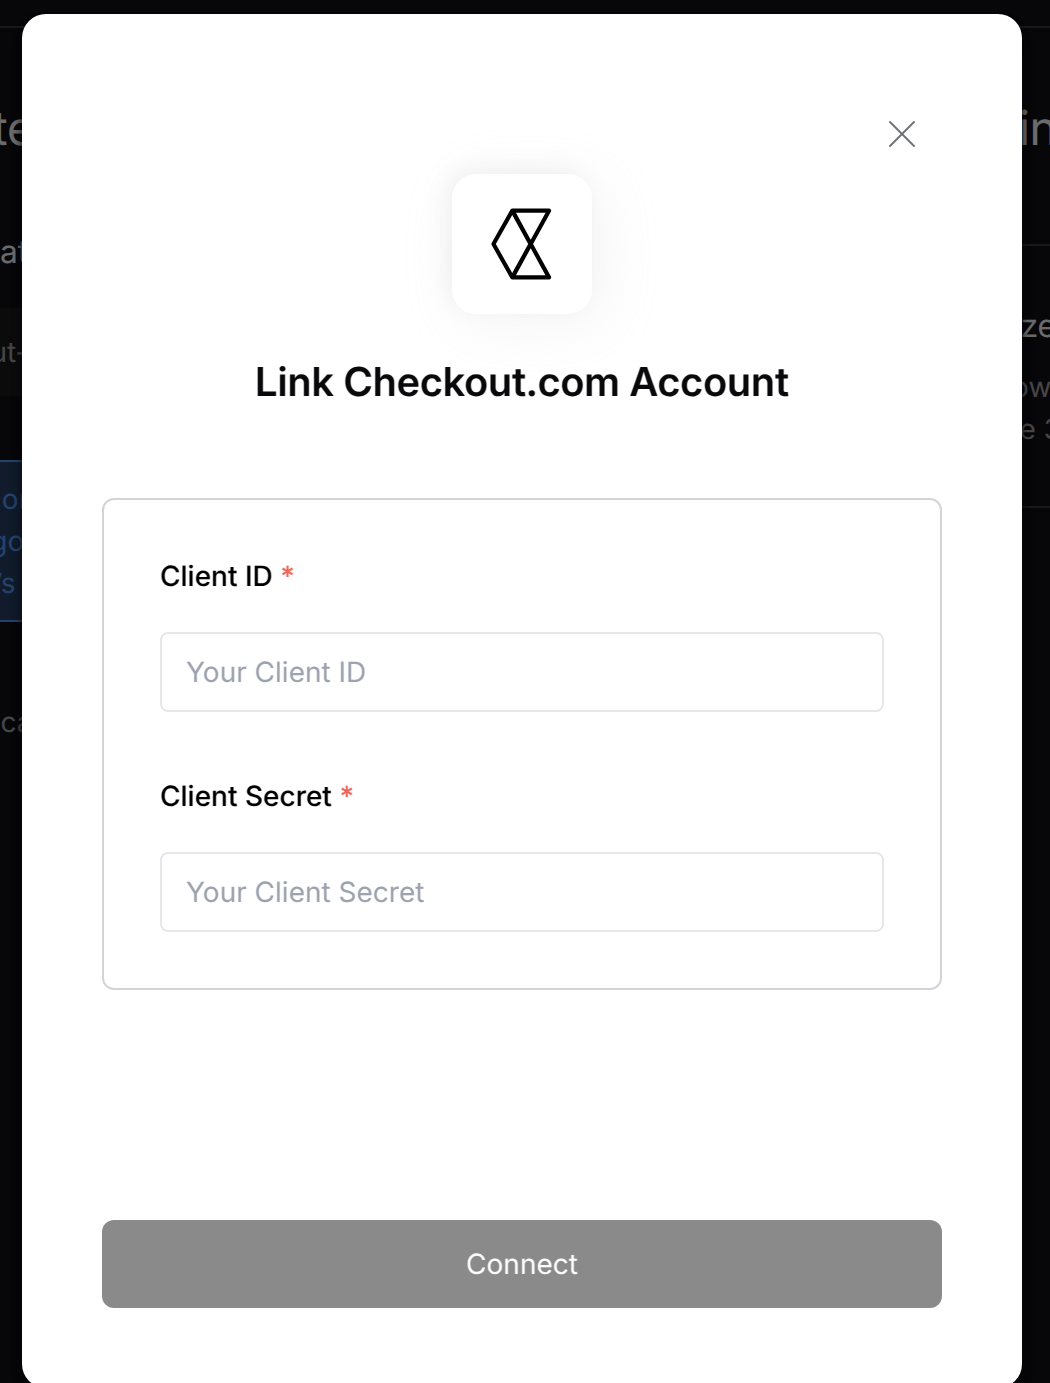 To authenticate using your client credentials, navigate to the Checkout authentication form.
Enter your credentials as follows:
* Client ID: Your client ID
* Client Secret: Your client secret
Click "Connect" to complete the authentication.
Note: Make sure to match the credentials exactly as shown above - the field names in the form may differ from your Checkout dashboard.
To authenticate using your client credentials, navigate to the Checkout authentication form.
Enter your credentials as follows:
* Client ID: Your client ID
* Client Secret: Your client secret
Click "Connect" to complete the authentication.
Note: Make sure to match the credentials exactly as shown above - the field names in the form may differ from your Checkout dashboard.