> ## Documentation Index
> Fetch the complete documentation index at: https://nango-wari-integration-config-credentials-api.mintlify.site/llms.txt
> Use this file to discover all available pages before exploring further.
# Coda.io - How do I link my account?
## Overview
To authenticate with Coda.io, you will need:
1. **API Key** - A key that grants Nango permission to interact with Coda.io's API resources and services.
This guide will walk you through generating the API Key within Coda.io.
## Prerequisites:
* You should have a registered account with Coda.io. Create one on [Coda.io's website](https://coda.io/).
* Permission to generate an **API Key**.
## Step 1: Creating an API Key
1. **Log in** to your Coda.io dashboard.
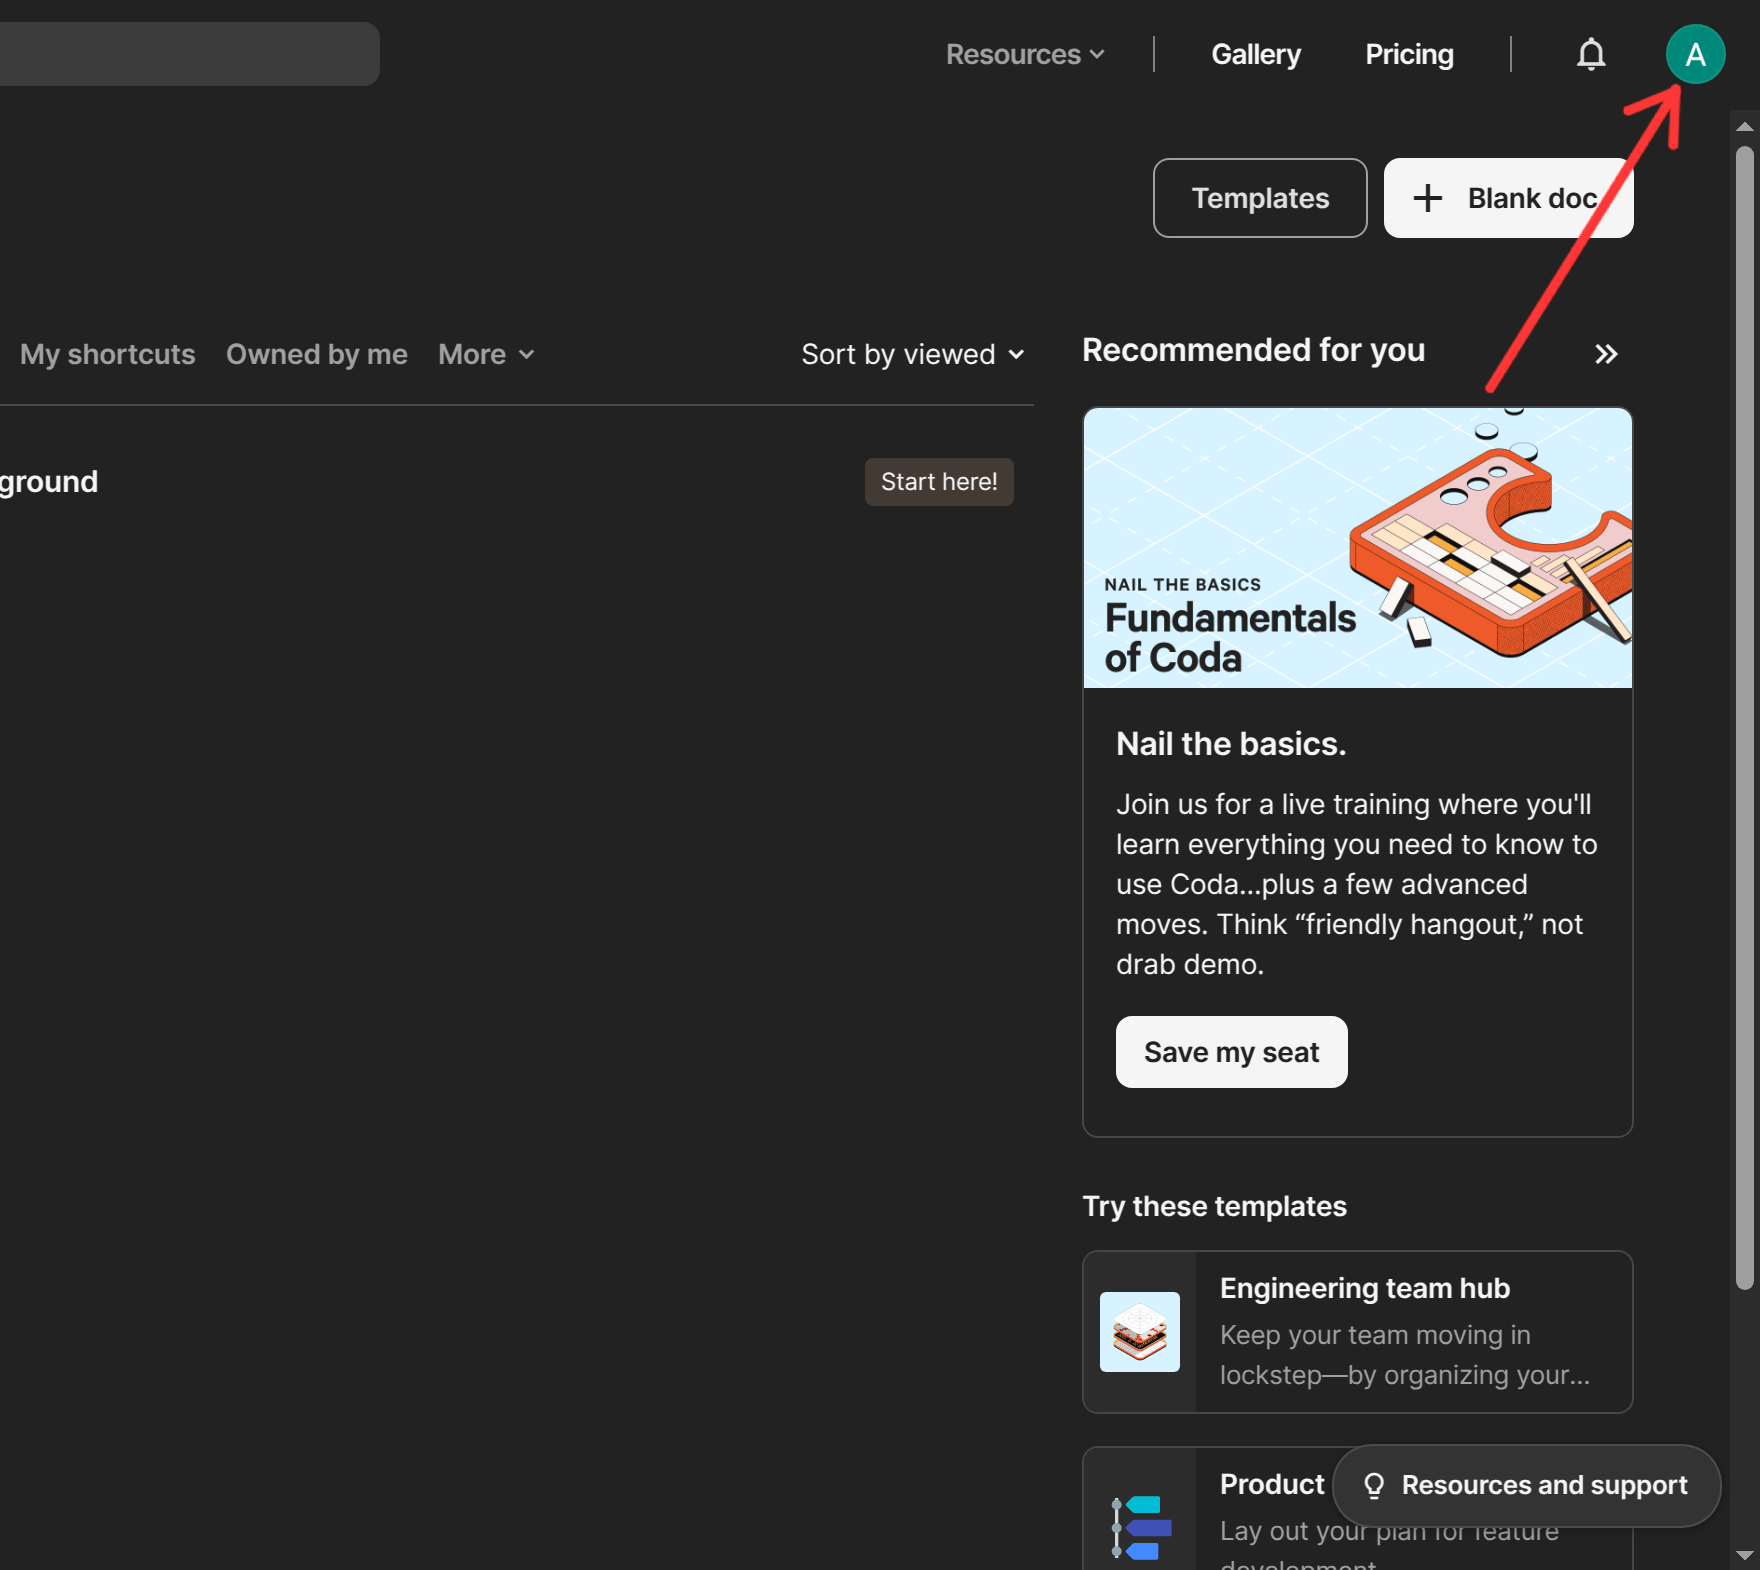
![]() 2. Click on your **profile image** in the top right corner of the screen.
2. Click on your **profile image** in the top right corner of the screen.
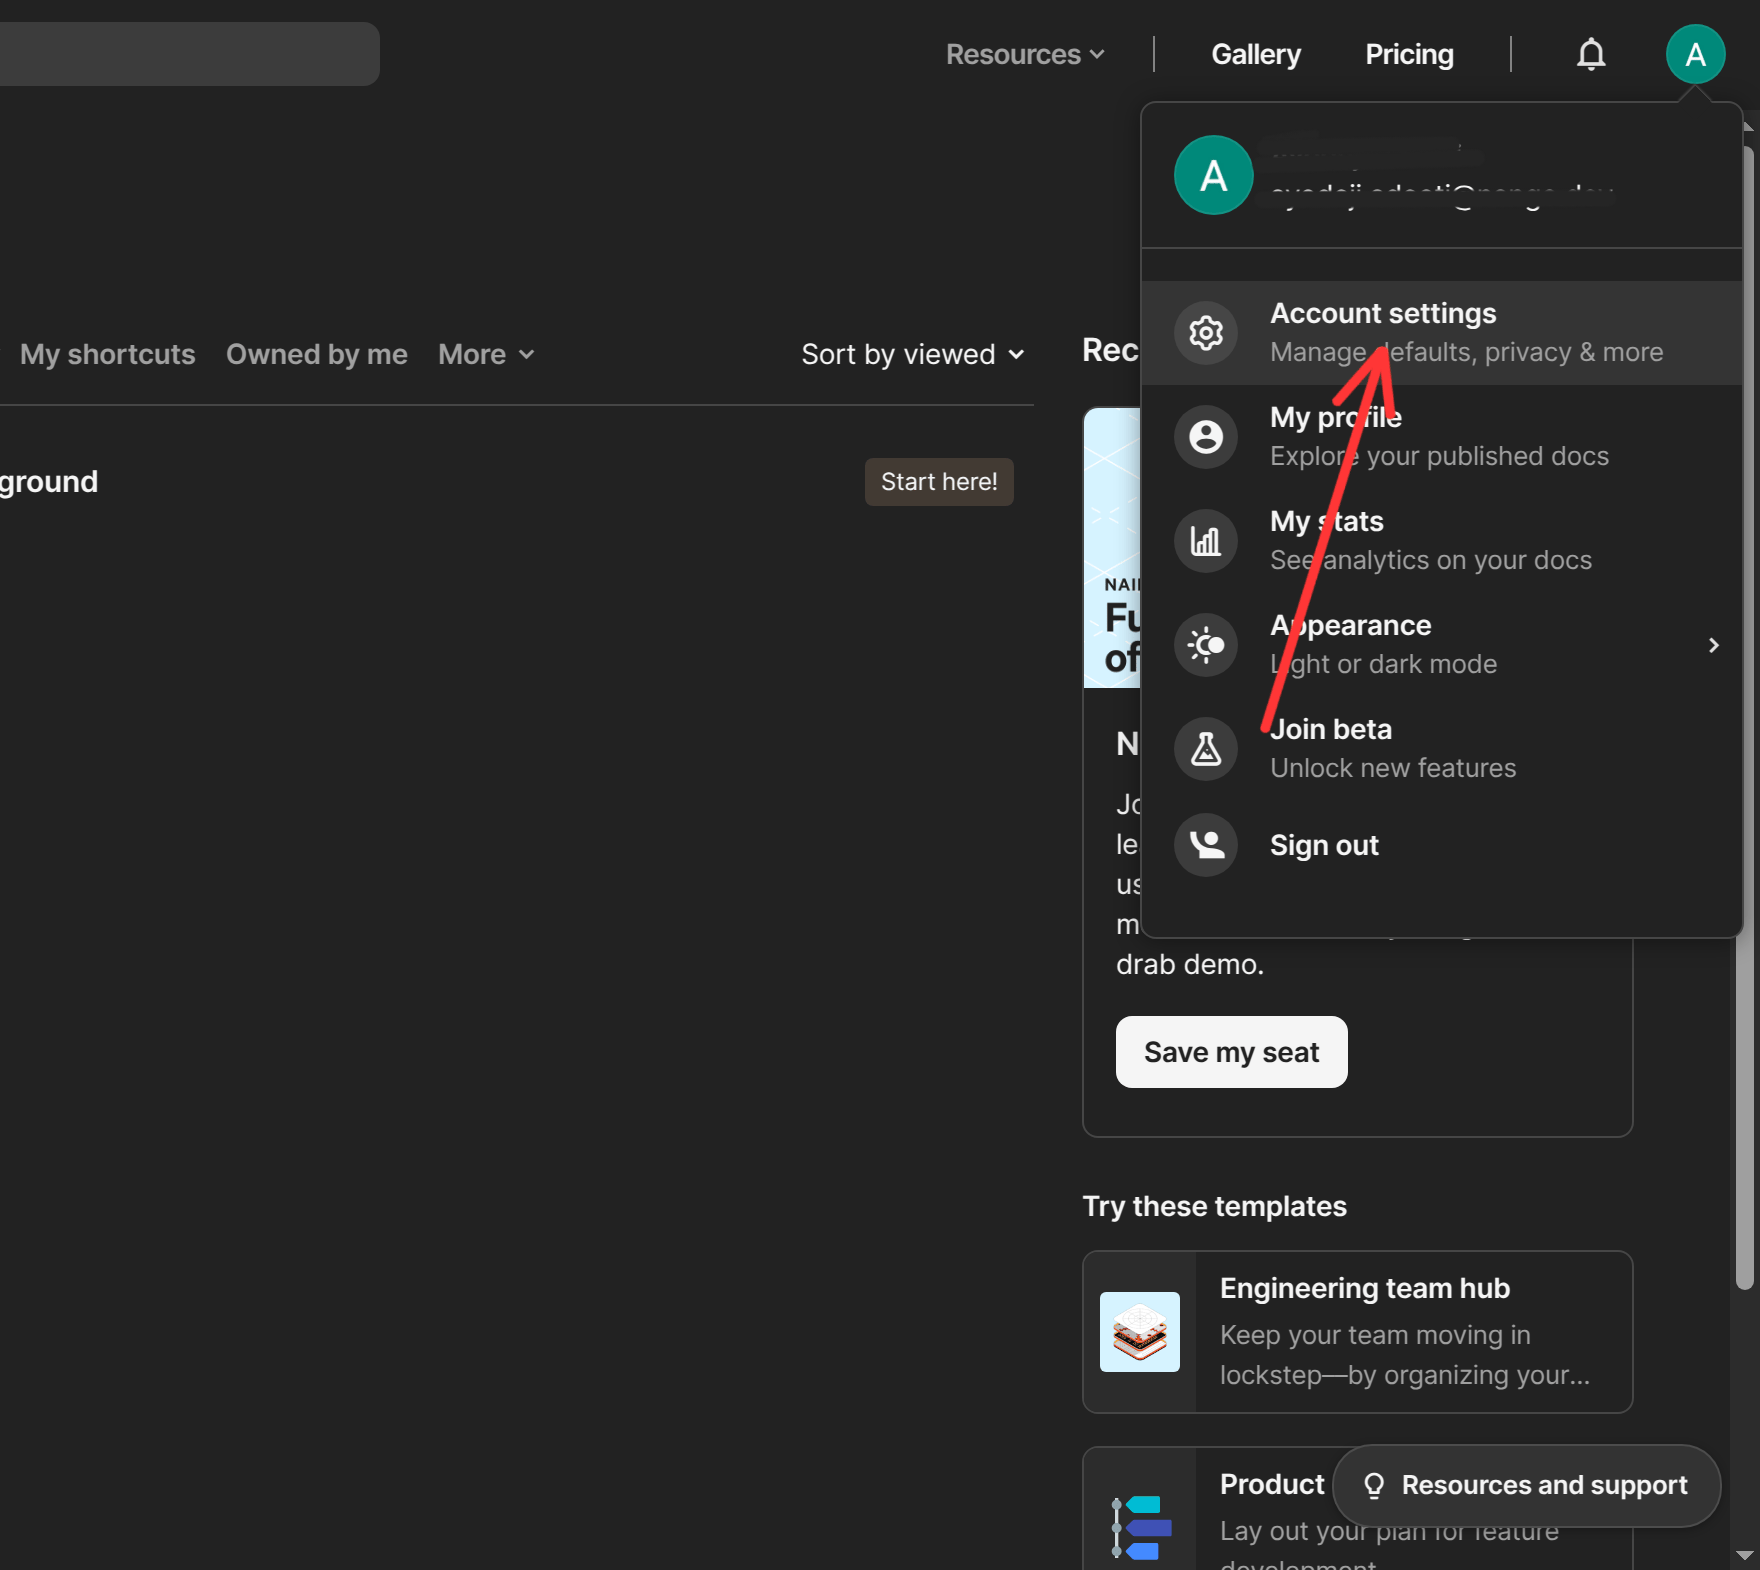
 3. Select **Account Settings** from the dropdown menu.
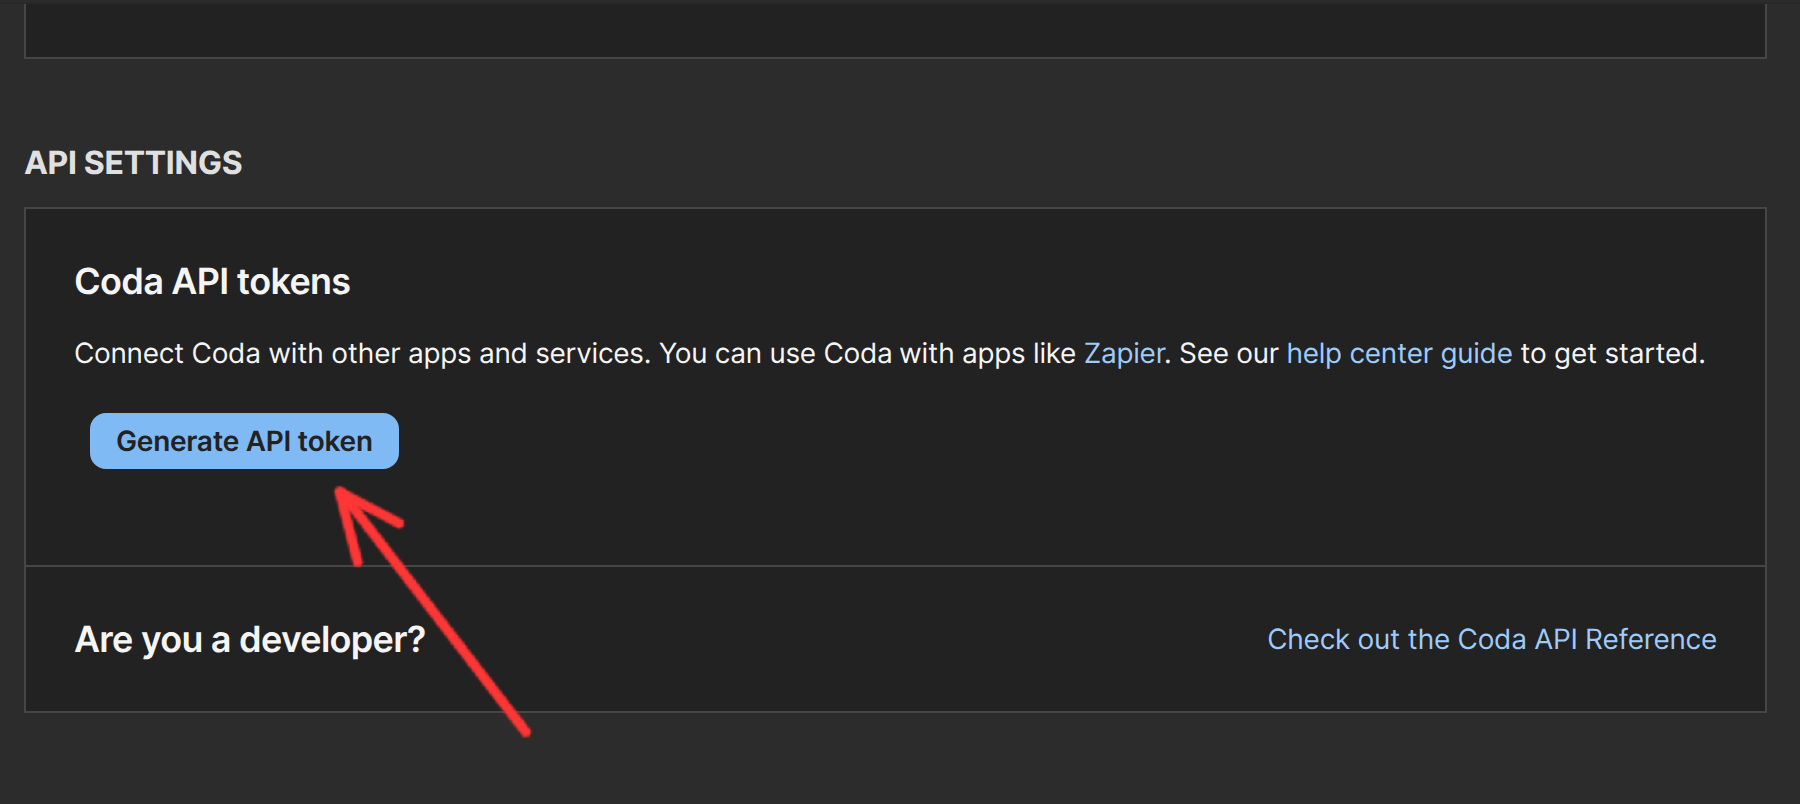
 4. Scroll down to the **API Settings** section and click on the **Generate API Token** button.
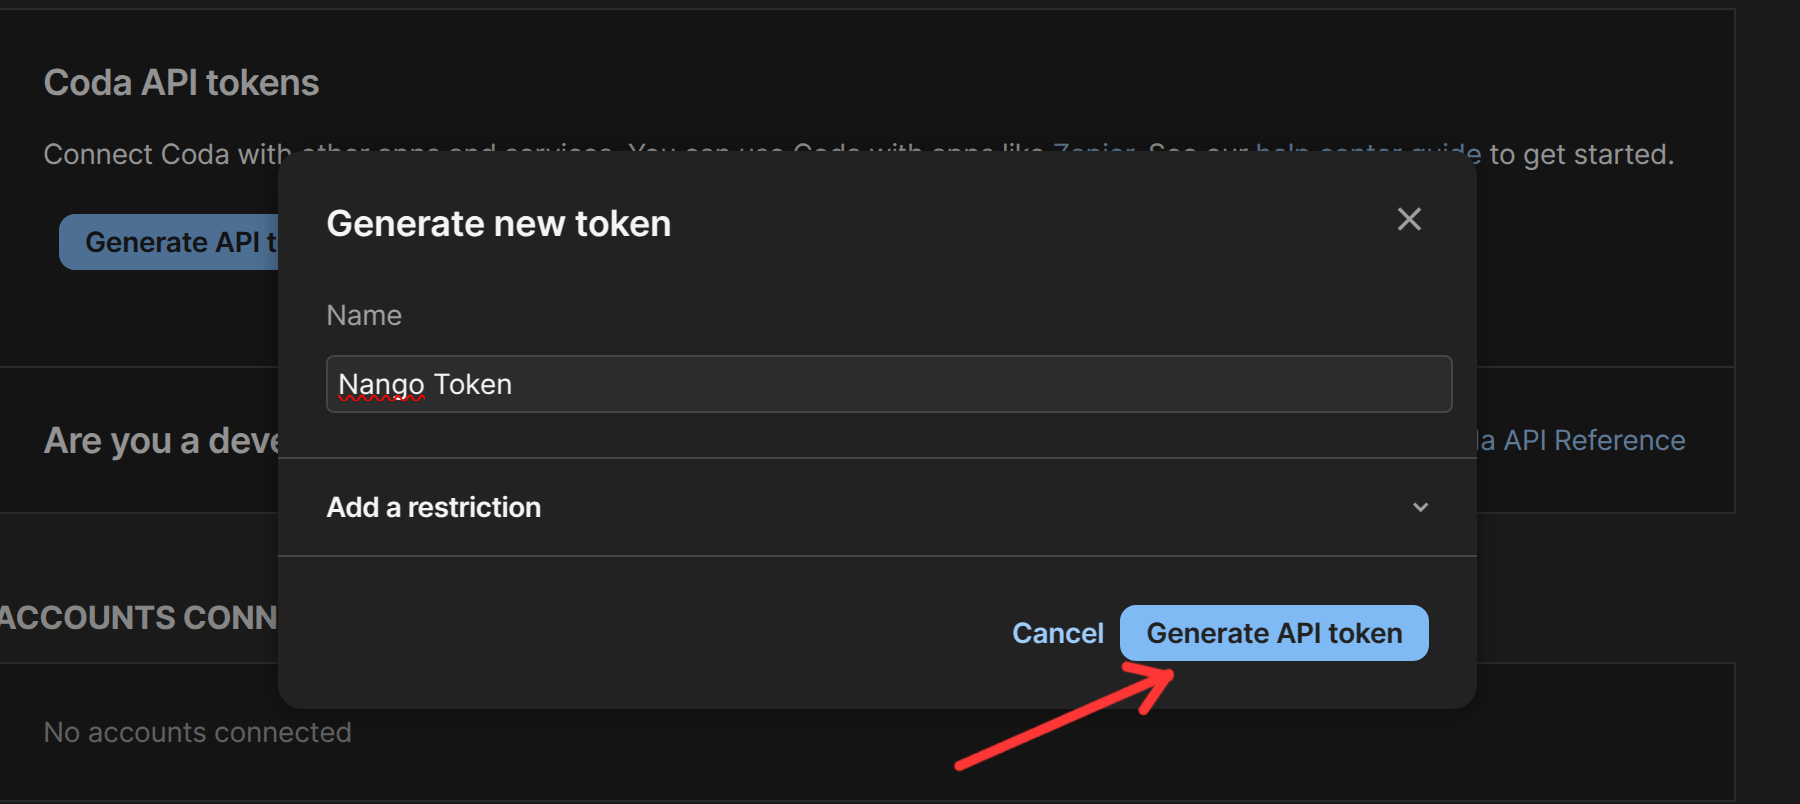
 5. Enter a name for the API Token. You can optionally **Add restrictions** for the API Token, though for full functionality with Nango, leaving it unrestricted is recommended. Once complete, click **Generate API Token** to save the token.
 6. Copy the API Token and store it securely. Once you leave the page, you won’t be able to retrieve it again.
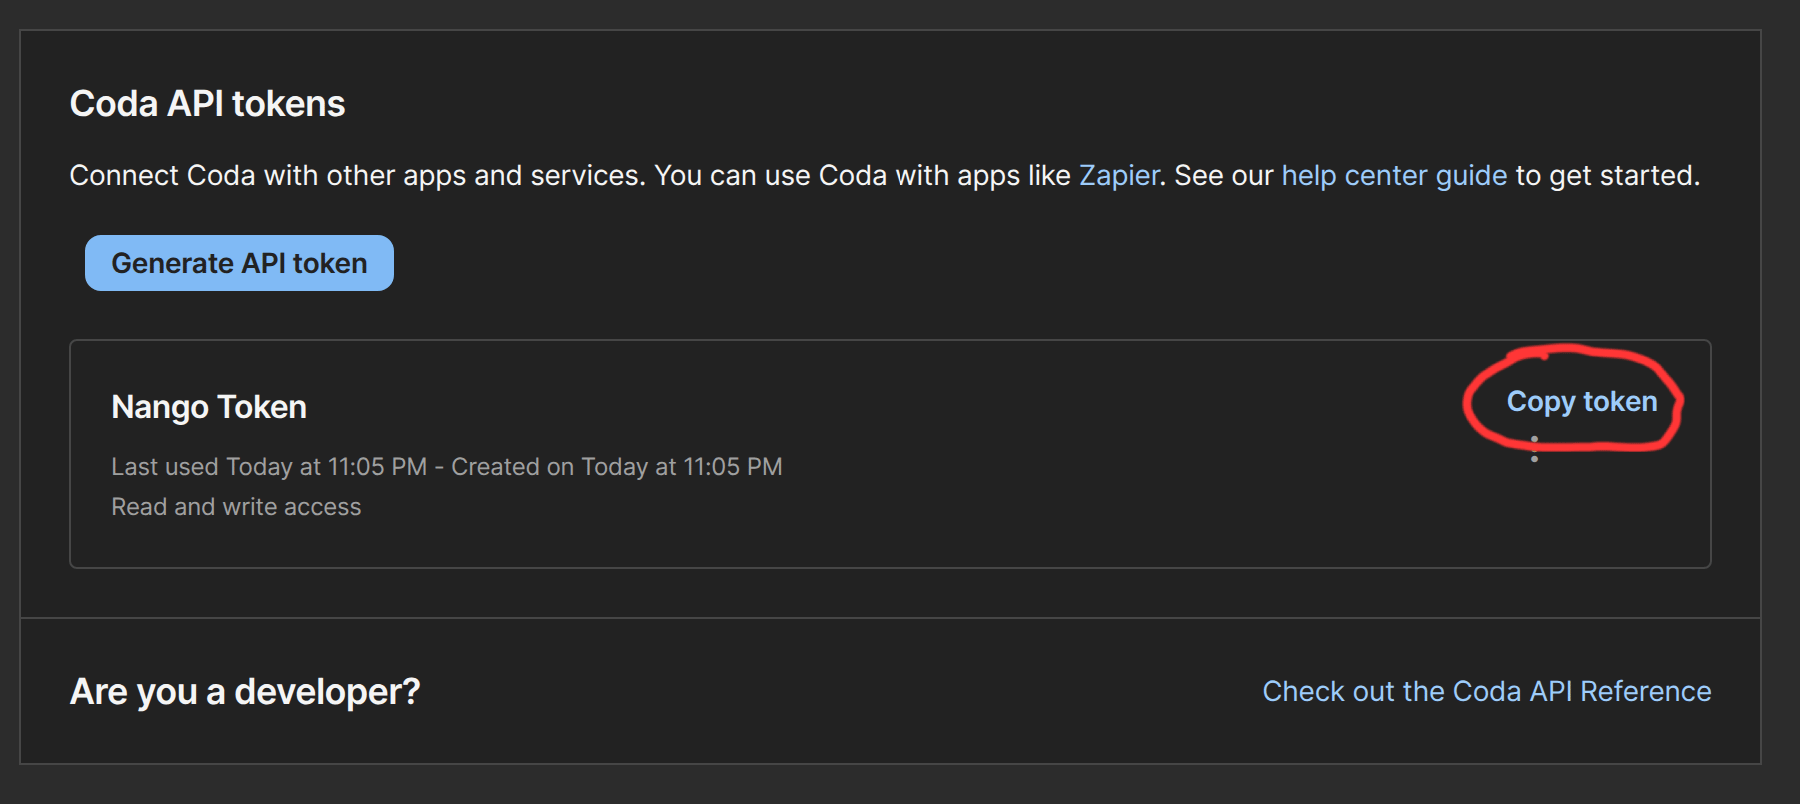 **Note:** Ensure you store this key securely, as it will not be visible again after leaving the API Key page.
## Step 2: Connect Your Coda.io Account
To authenticate using your API credentials, navigate to the Coda.io authentication form in Nango.
Enter your credentials as follows:
* **API Key**: Paste your API Key from Coda.io.
**Note:** Ensure you store this key securely, as it will not be visible again after leaving the API Key page.
## Step 2: Connect Your Coda.io Account
To authenticate using your API credentials, navigate to the Coda.io authentication form in Nango.
Enter your credentials as follows:
* **API Key**: Paste your API Key from Coda.io.
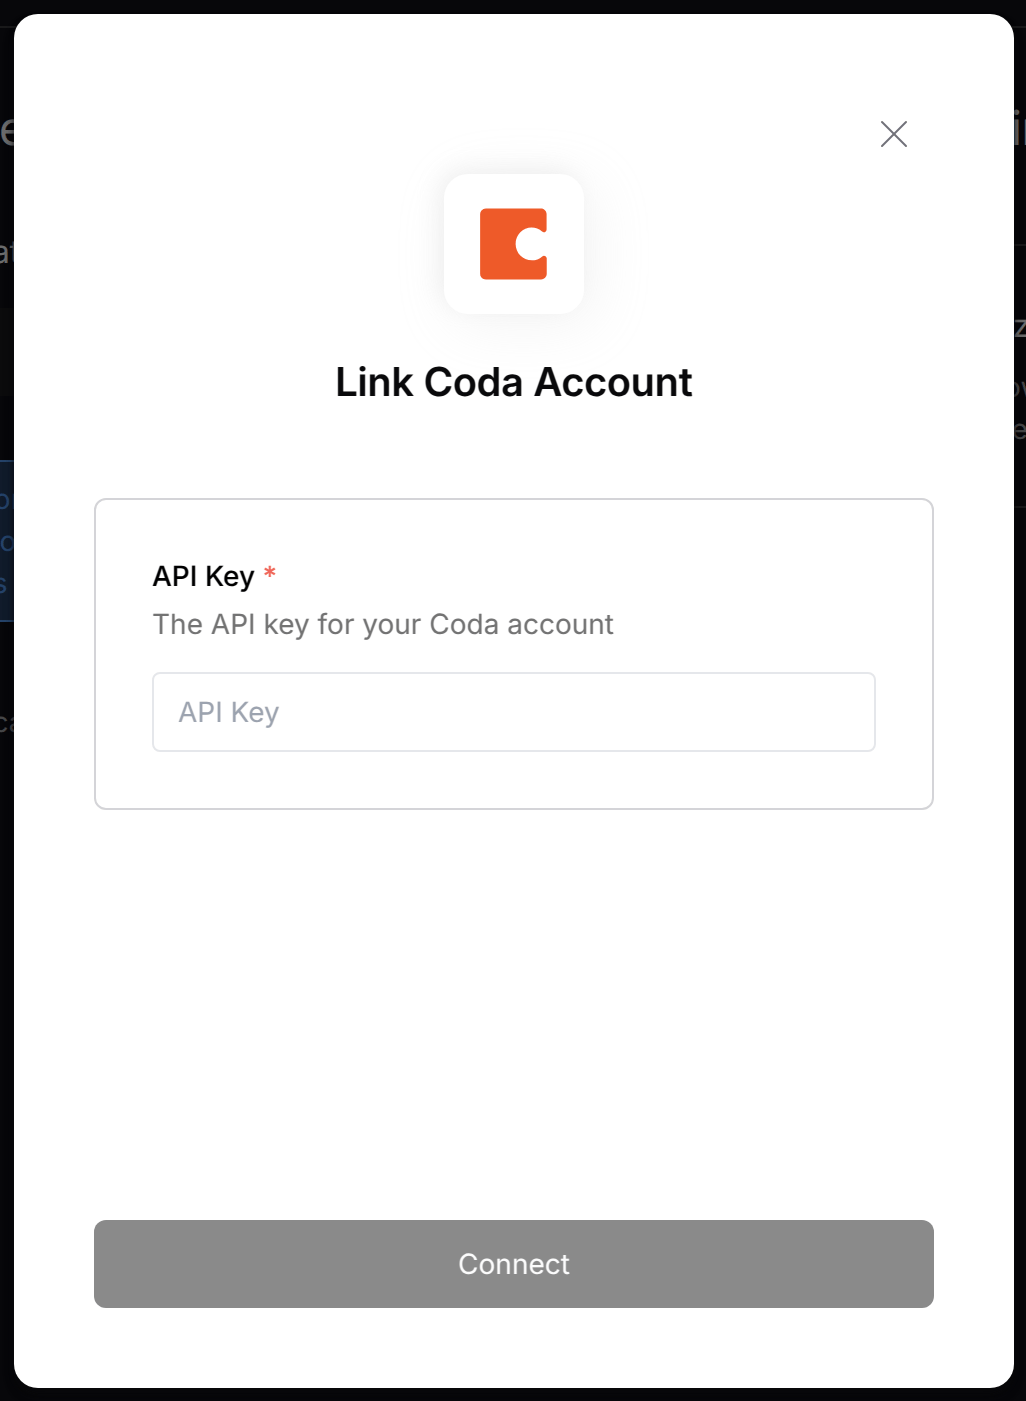 Click **Connect** to complete the authentication.
**Note:** Ensure the API Key is entered exactly as generated to avoid authentication errors.
Click **Connect** to complete the authentication.
**Note:** Ensure the API Key is entered exactly as generated to avoid authentication errors.